

Our two blue footstools got a little makeover this spring…for the second time!

I bought these footstools from Wayfair, and the off-white fabric that came on them was fine, don’t get me wrong, but I bought them knowing that I was going to recover them in a blue fabric. So we did.
Fast forward to 2020 and the year that the blue check blanket came into my life. The blue footstools didn’t match the blue blanket. Tragedy! 🙂 Of course, I recovered them again! This time I documented the process to share with you!
I don’t think I’m professional enough to recover a chair or sofa, but the footstools are no problem. It’s a perfect intro to upholstery.
Apologies for some of the photo quality. I was trying to take pictures with my phone while I was working on them. I should have set up my camera, but you’ll get the idea!
- Depending on how the furniture legs are attached, remove them using the appropriate tool. Mine used an allen wrench.
- You should now be able to freely access the “dust layer.”
- Remove the dust layer to expose the staples and the bottom of the stool/tufting thread.
- Now you’re ready to either remove the existing fabric, or reupholster with the new fabric. I chose to go over the existing and did not remove any of the original fabric because of the tufting.

1 
2 
3 
4
- Measure and cut your fabric to size.
- Make sure you have 2″ – 3″ excess when you wrap the stool.
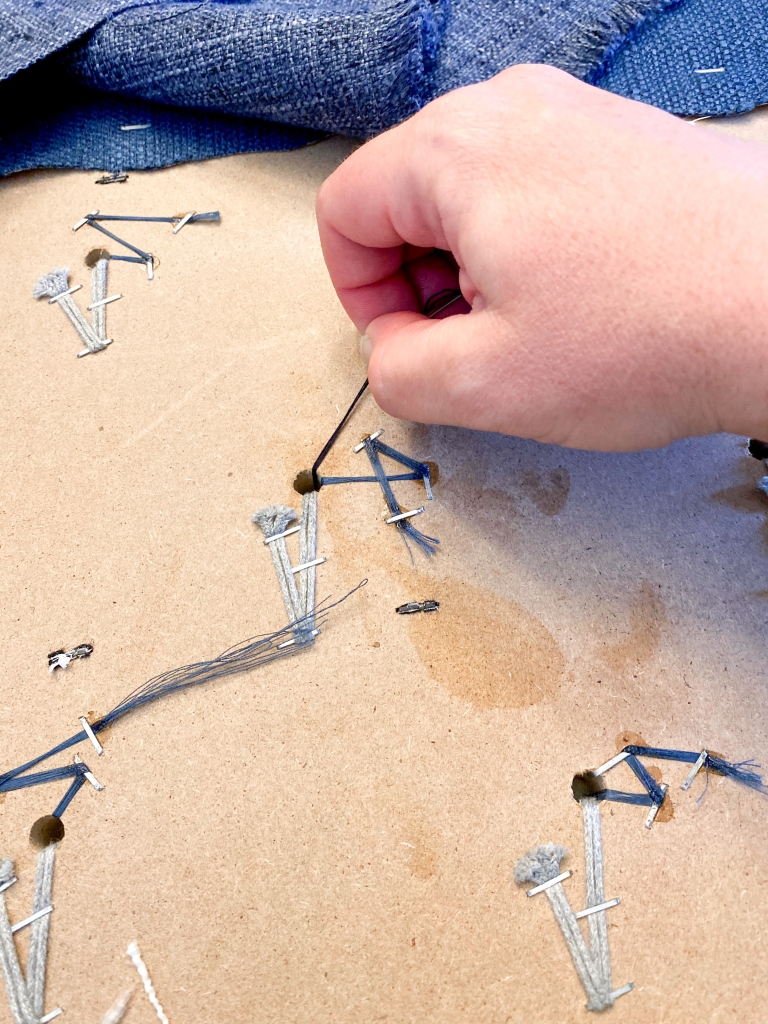
- Using a larger upholstery needle, thread through the pre-drilled holes on the back of the stool for the tufting. If your stool project doesn’t have tufting, skip these next steps.
- Pass the needle back through creating a “tuft.” Start in the middle and work your way out.

5 
6

7 
8
- Pull the thread tight. I doubled up my thread on the needle, and used “heavy duty” thread. The original tufting used a much larger thread (the off-white color you see), but we used regular “heavy duty” thread the last time, and it’s held up fine!
- Using a stapler, staple 2-3 times pulling the thread in opposite directions so it stays tight.
9 
10
- Repeat these steps until all of the tufting is complete.
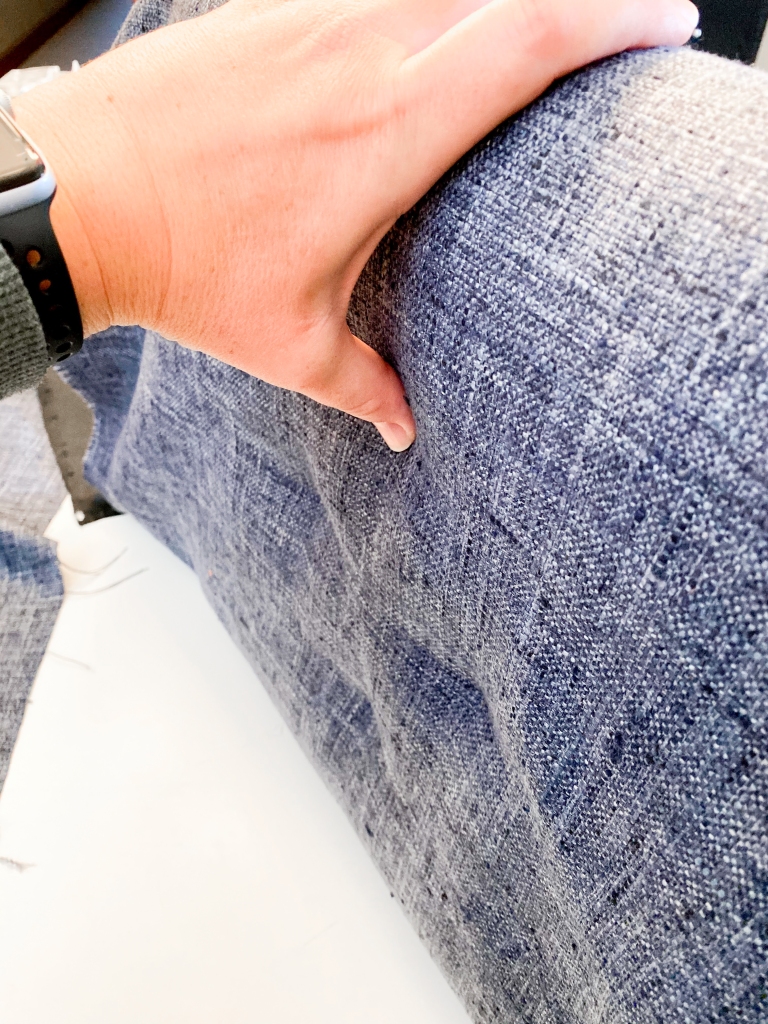
- Pull the fabric tight around the edges of the stool, and staple it every inch or so around the perimeter (avoiding corners).
- Leave your corners free of staples for now so that you can address the corners last.
11 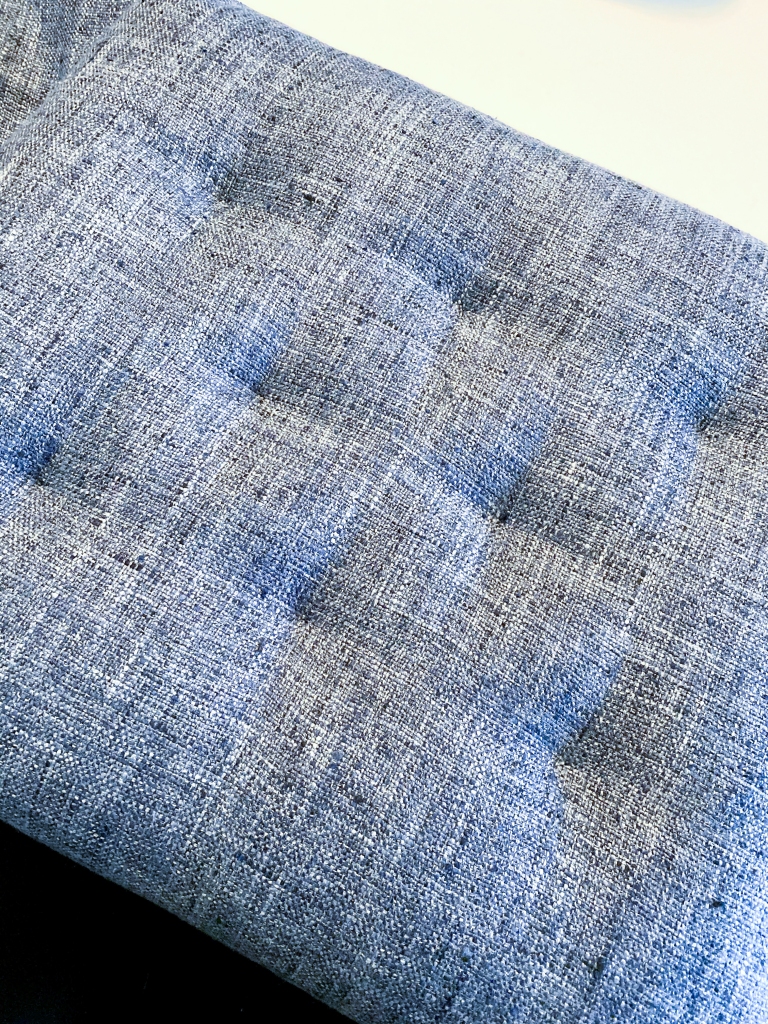

12 

13
- Pull the fabric back at the corner, and place a staple to secure.
- Pull both of the straight edges together to wrap the corner.
- Pinch the fabric together, and staple to secure.
- You should end up with a cleanly wrapped corner.

14 
15

16 
17
- For this project I added additional staples around the perimeter, and on the corners, to ensure the fabric stayed in place. This is also when I trimmed any excess fabric.
- Reposition the legs of the stool and determine where your bolts need to reattach.
- I had to use a small screwdriver to push through the fabric layers.
- Attach the legs/frame of the stool.
- To finish the tufting, I placed a drop of glue on each staple so there is no chance that the threads can work their way out over time.

18 
19 
20 
21 
22
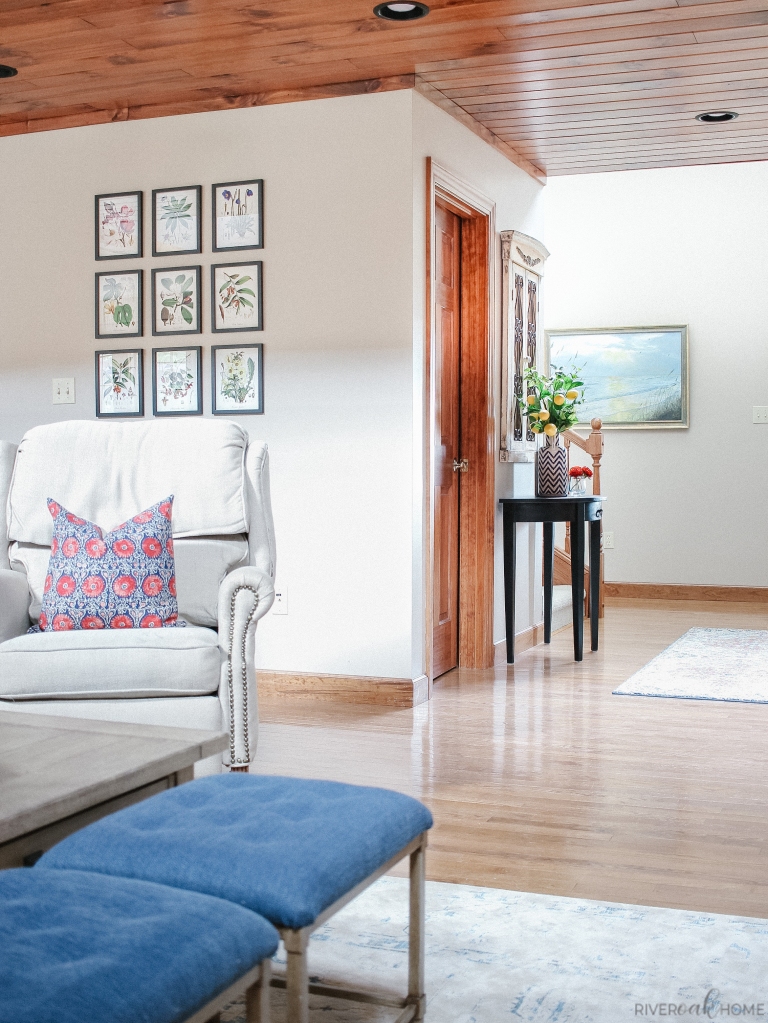
BEFORE AFTER

Is this a HUGE difference in color? Nope. No it’s not. It is subtle, but it coordinates so much better with the DIY throw blanket that I made. It actually coordinates better with the rest of my decor overall. So it was worth it!
You could recover something like this Shawnalore Ottoman Cocktail Table the same way! Or if reupholstering isn’t your thing, I also love this Louis Bench.
Have you ever reupholstered or recovered a piece of furniture? If so, how did it go? I’d love to know.
